Your Sandbox page is privately published and only viewable by users who are signed in- it is not public facing.

To add any Anvil Block available, click the blue ‘plus’ button at the top left-hand side of the page; you can then move the block up or down the page with the arrows that appear when the block is selected, to delete a block use the three dot button and select “Remove Anvil Block’
To edit any Anvil Block, click the block itself and you should see the editing areas on the right-hand side of the screen- if not, make sure you have selected the ‘Block’ tab.
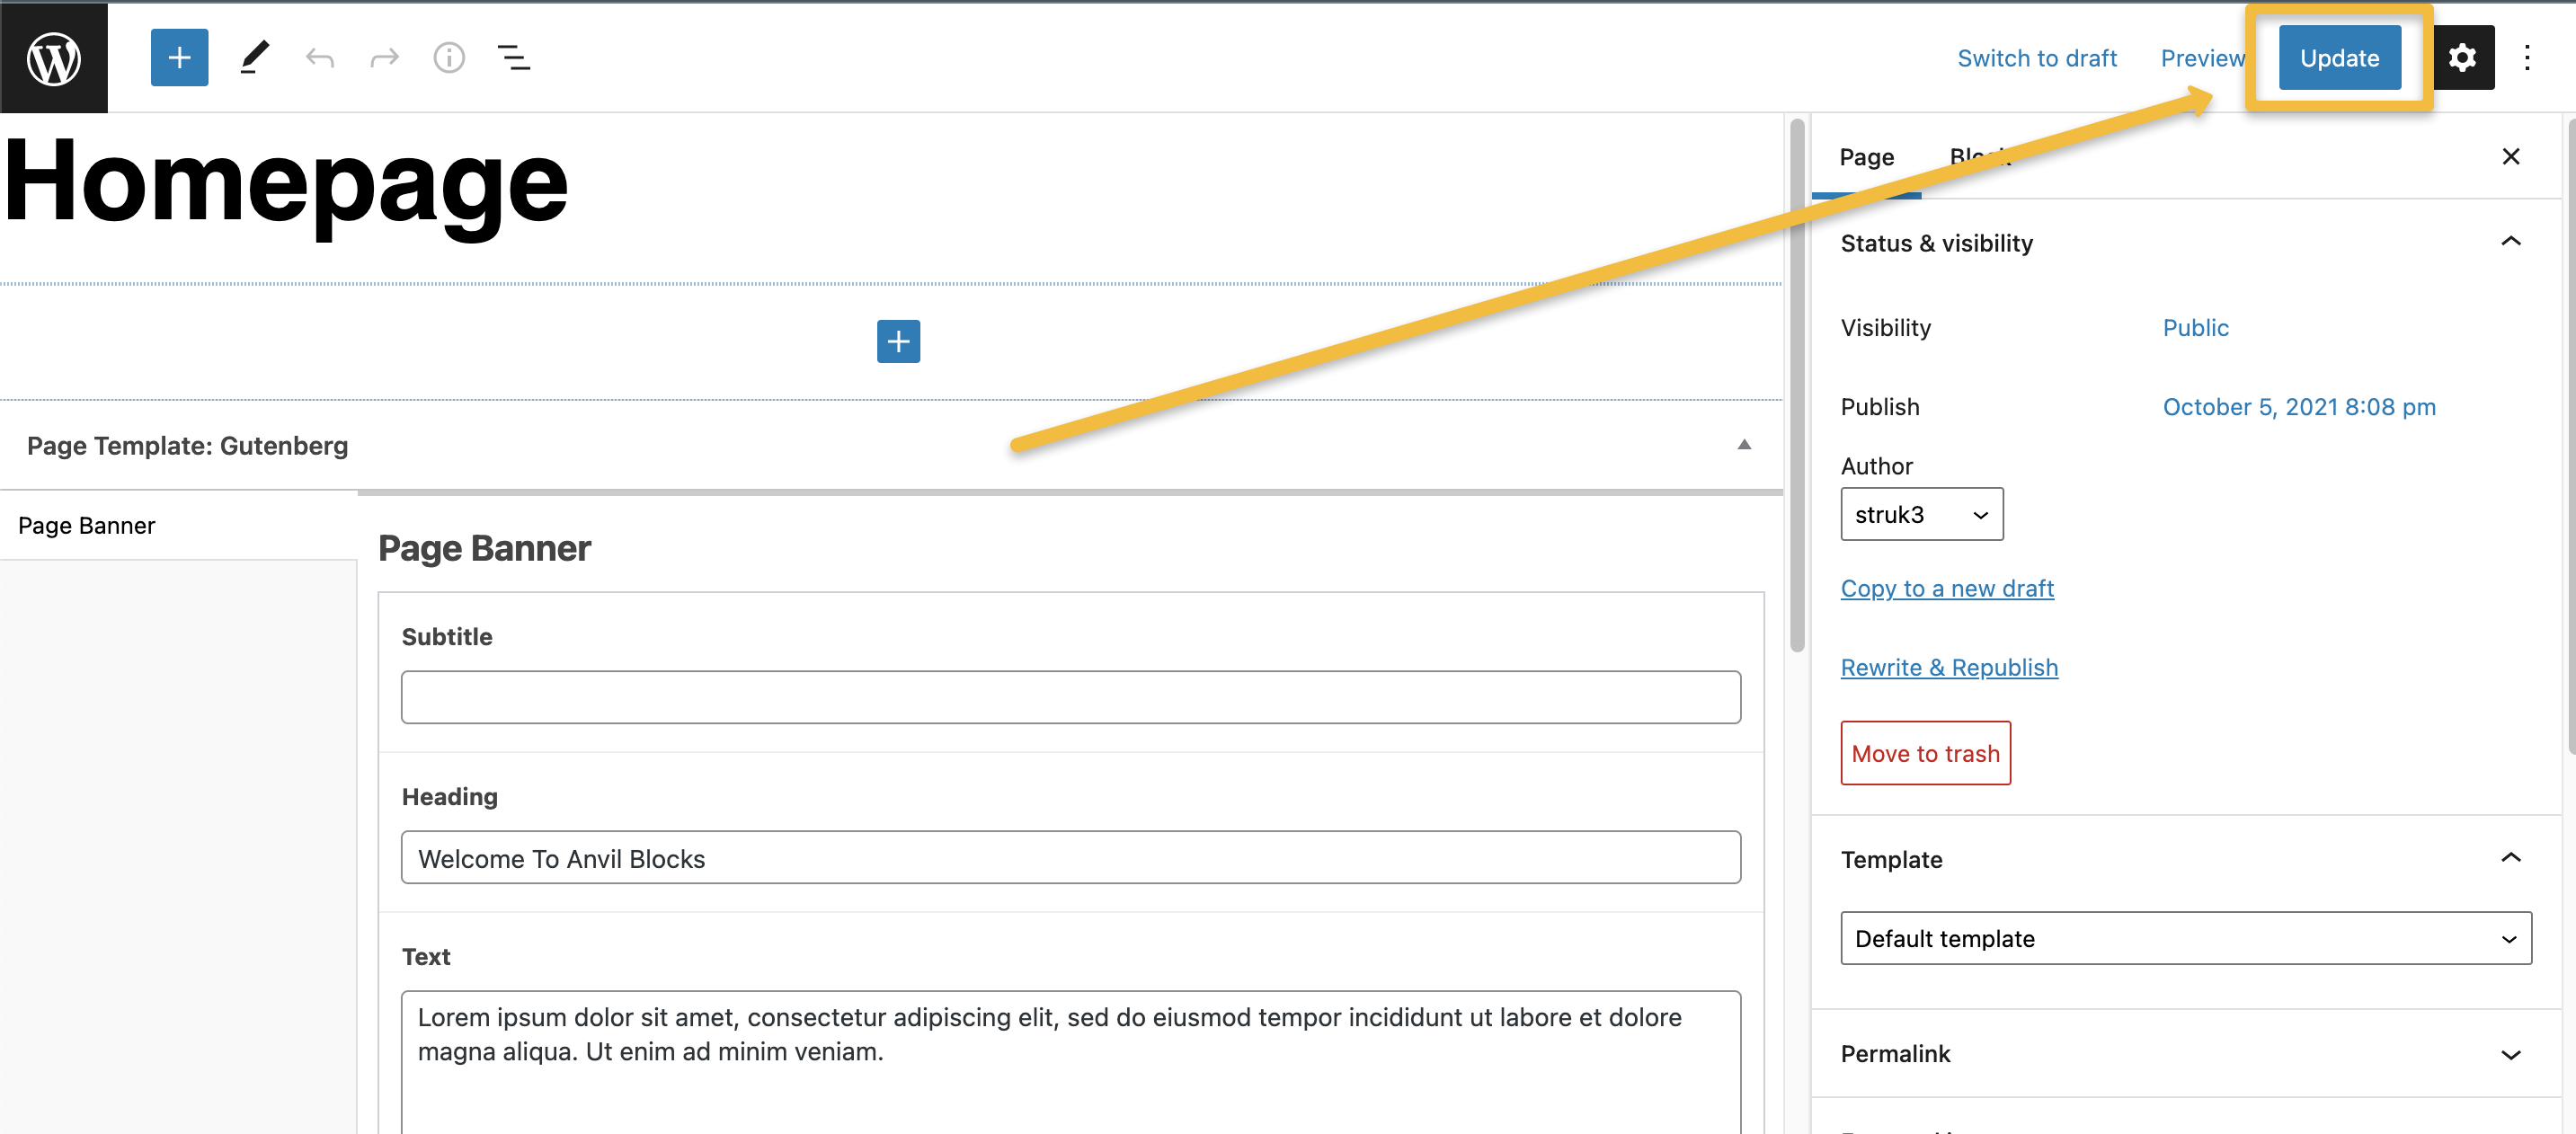
The Update button will push any new content live to the front end, but you can preview in a new tab ahead of publishing it publicly with the Preview button (note that the tablet and mobile view only shrink the editing area).
Scroll down to see examples of Anvil blocks!
Tip: You can style and populate any Anvil Block to the way you want, then cut and paste it anywhere on your site- with the styling and content intact! Just make sure you’ve added an Anvil Block – any block works, it doesn’t have to be the same as what you’re pasting.
Start Here
Walkthrough
You can book a screen share walkthrough to ask any content editing questions you may have- live! We’ll even record that and upload here if you’d like.
Sidebar Navigation
Scroll to see where the options to edit or create new content can be found, in the left-hand area of your new site’s WordPress dashboard.
Posts Tab
Create New or Edit Existing Posts
It includes options to organize your content by taxonomy – categories and tags.
Clicking ‘Add New’ will open a new post that contains blocks for:
- title and main content
- banner image
- featured image (the one you want to appear on social media and mobile search results)
- a menu to add one of your existing footer callouts to the end of the post (if you want to)
Media Tab
Editing Images
- While editing a page or post, hover over the image you want to edit and click the pencil icon, OR
- Click the Media Gallery option from the sidebar navigation, search and select the image you wish to edit, then click the ‘Edit Image’ button below the image
- Both methods will give you options to crop, plus edit size, shape, and orientation
- You can revert back to your original image within WordPress
- Editing an image will edit it everywhere that file appears on the site; if you need two different versions of the same image, upload the image again and edit the second one
Tip: This is also where you can add ‘Alternative Text’ descriptions, which are the words you add to describe an image so they can be read aloud to visually impaired website visitors
Pages Tab
Adding a New Page
- Click or hover on ‘Pages’
- Click ‘Add New’
- Some page types will open with a templated set of blocks; ‘flex pages’ are blank so you can build a page using any available blocks
- Populate your new page and click ‘Publish’
Tip: The page will not appear on your site until you click ‘Publish’. If you want to wait, there are also options to save it as a draft, schedule a future publication date, and set the visibility (public, private, etc.).
Team Members Tab
How Team Members Work
- Team members are created under the Team Members tab, by clicking ‘Add New’, filling in all details, and publishing
- To reorder the team members as they appear on the page, you would drag and drop them from the ‘All Team Members’ view
- There are no blocks for banners or body copy; individual team members don’t have landing pages, their data is fed to a single page on your site
Testimonials Tab
What to Know About Testimonials
- Testimonials are created under the Testimonials tab, by clicking ‘Add New’, filling in all details, and publishing
- Like team members, there are no banners for testimonials
- Likewise, testimonials don’t have their own pages – they are fed to a specific page on your site that features them
- Some pages might have a drop-down menu to choose which testimonial is displayed; your new testimonial will appear on this list after it’s published
Footer CTA Tab
Create New or Edit Existing Footer CTA
- This is where you edit the callout blocks that appear at the bottom of your pages
- To add a new footer CTA, click ‘Add New’
- To edit an existing footer CTA, click ‘All Footer CTAs’
Tip: If you’re replacing an existing footer CTA that looked good as far as the length of the copy, copy/paste the text into the new footer CTA and then write your new message below it. This way you can match the length, then delete the old copy before publishing.
WHERE DO I EDIT…?
Frequently Sneaky Content
Tip: if an item appears site-wide (such as a callout or your email address), it’s most likely accessible through the Options tab.
Footer Contact Info
To edit your contact details that appear at the bottom of your pages, navigate to:
- Options
- Contact and Social Media
Related Blog Posts Intro
To edit the message that appears on blog posts, guiding readers to visit other related posts, navigate to:
- Options
- Blog Posts
Footer Newsletter Callout
To edit the callout that asks people to sign up for your newsletter, navigate to:
- Options
- Newsletter
404 Page
This is the page people see when a page or post is deleted and not redirected, or they’ve spelled some part of the URL incorrectly. Don’t settle for a boring 404 page! Offer direct paths to your main content, to get help, or you might even offer them a unique piece of content that can’t be found anywhere else.
adding new content
Anvil Blocks
There are several ways to add any Anvil Block option to a page or post, and we can walk through them all in your live screen share.
You can test out any Anvil Block or styling option in your ‘Sandbox’ page that is set to ‘Private’ and cannot be viewed by the public – only users who are signed in!
Save your work
Text and layout changes will update in the editor as you go, but will not be saved or appear on your site until you’ve clicked the blue ‘Update’ button in the top right corner of the page.
You can also sneak peek the updates using the ‘Preview’ option prior to updating. Tablet and Mobile previews do not open in new tabs and will re-size the back-end preview.
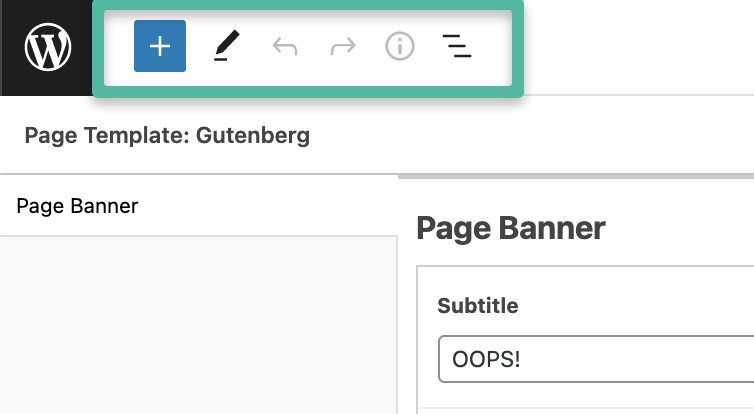
Oops!
Undo option
In the upper left corner you’ll find a menu that has both undo and redo options represented by arrows.
Anvil Blocks Styling Options
In every Anvil Block, there are several styling options that allow you to tweak and perfect your content layout. You can read more about some of the more common styling options below, and where they appear in Anvil Blocks. Some blocks may have styling option tabs that are specific to only them.